Monday, August 13, 2018

Blankie

My family has just sprouted into a new generation! My mom’s first great grandchild was born in July. I thought that made me a “Great Aunt;” sounds so stuffy, doesn’t it? But my friend who studies genealogy told me that I am now a “Grand Aunt,” which sounds well, grand!


Recently my sister-in-law she pulled out a baby quilt I made years ago, and I realized how much I missed just making a “blanket.” All the show quilt ribbons in the world do not equal one cherished  "blankie!" So Grand Aunt Carol is stepping up to the plate-- maybe this time, I'll even throw a little quilting on the borders! ;-)


I designed this using EQ8– if you have it, I’d highly recommend taking a class to master it. At first it seemed really hard to use, but after taking a class with Candace West at MQX, she went through each tab and it made complete sense. She did warn that weeks spent on EQ8 will not produce even one finished quilt, though! 

I need 24 flags, 12 boots and one guitar.


I am starting with the borders and working my way in. Can you tell what state this baby lives in? The flags needed stars, and I learned that a “Friendship Star” is the easiest to make in the three inch size I needed. I used the Magic 8 method for half square triangles... there's absolutely no waste.


Then I like to trim them down to the exact size. If you don’t have any BlocLoc rulers, I’d encourage you to try one— also a rotating mat is wonderful for trimming. Yes, this all costs money, but it's amazing the tools you can collect over time with Joann Fabric coupons!


With the overload of projects in my studio these days, I have been trying to do things faster. Usually I like to cut enough for one block, assemble it, and even start joining blocks together before I have them all made. Assembly line is the way to go— cut everything at once, sew all the like units at once, etc, etc. First I made two flag blocks at once, which took about two hours. Then I tried making six at once— it took two hours, and then 12 blocks took two hours!! ;-)


 OK, I’m kidding, but you get the point! You will definitely reduce your time per piece by assembly line.


It’s on to boots now, I'm finding that Civil War prints are working perfectly for them. Not a genre I am usually interested in, but it proves you need a little of this and a lot of that for a solid stash.
Finally, I'll make a guitar, and of course some beautiful embroidery.
What is an embroidery machine for, if not putting a new baby's name and birth date on a quilt?


Another tip for gettin 'er done is one we all struggle with... make ONE thing at a time! So this is my project for August... except for the bouquet piece, and a Frivol kit I started, and then the Lovely Letters are waiting to be assembled...


xox
Carol

Saturday, July 21, 2018

Labor of Love or Lovely Labor?


Now that my floral baskets are sewn together, it’s time to raise the bar again! I wasn't quite happy with my hand stitching on the back. The thread color I picked was too light for some areas, my seams didn’t match, and they became very obvious where the darkest part of the cloud fabric met the lightest part. 


So....

I decided to add cream grunge strips to cover all of the seams. I've been thinking about doing it for all long time, and I’m happy to say, it’s going more quickly than I thought. That being said, this is the point where someone said, 

“Oh! That’s a labor of love!”

I don’t listen to anything when I sew— I like to let my mind wander, so I had plenty of time to mull over that expression. it always sounds like a task is so painful to do... LABOR... more suited for a chain gang... but I am enjoying it immensely. It’s very relaxing to make the strips, measure, cut and stitch them slowly along the edges.


First, I'm cutting the strips 2-1/8" wide. I heavily starch and press a quarter inch seam on one side. Then, it gets pinned in place, and I fold the other side to match the actual width. Since the width between satin stitching varies, each piece is a custom fit.


I then glue them down and wait for them to dry.


Since hand stitching is what got me into this mess, I am then MACHINE stitching them down the merest fraction of an inch from the edge. I can do this while being confident that the front will look fine, because the satin stitching goes through to the front.


This is how it looks on the front. I know that it looks a bit wriggly, but next I will machine embroider quilting the those areas... if you think the expression "it will quilt out" is only a  euphemism... it is not. Machine embroidery can neatly smack down even the most unruly of borders!

I guess the puzzling part is that this is the BACK of the piece. I’m not sure why I am pouring all this love into it... It’s not like it will end up as a lap throw (I HOPE NOT) but it’s a wall piece. I imagine that people who take an interest in it, enough to lift it and look and the back, will get a lovely surprise! To me, it resembles a trellis with blue skies showing through.

I am having a really enjoyable summer. The weather has been PERFECT-- just a little heat, a lot of sun, and my mom is staying with us. It's so fun to take her out to lunch in our seaside town. Did you ever notice how you avoid touristy places when you live there, but then when company comes, you visit these things. Here we are sharing a HUGE plate of fried seafood!!

And just as much work is going into the real flowers this summer as opposed to the embroidered ones. I took a really relaxed approach this year, and instead of doing massive plantings, just made some pretty vignettes here and there. We live in the woods, so coleus and ferns are so easy to plant.


My DH did me a "favor" last fall and cut my huge hydrangeas just about down to the ground. I privately said last rites over them, but look at this:
 
Not only have them come back, but I now have both PINK and BLUE bushes? The acidity of the soil is supposed to determine which you get-- we must have really weird soil.


One of DH's favorite plants-- caladium-- and so I dig them up and replant year after year, and also add a few new ones each spring. We have a nice assortment of leaf colors going, but they don't start really getting big until August. We are being overrun by bunnies this summer and they are nibbling. An expensive salad. 

I have always had a Japanese Maple wherever I live. And marigolds can't be beat for EASY.

So that's summer! I have sadly reflected that August is almost here, but it's been a very productive while relaxing season for me.
Hope yours is, too!

xox
Carol

Wednesday, July 4, 2018

I Succumbed.


After seeing photo after glorious photo of the Brimfield Awakening block on Instagram, I finally jumped in. 

Reading the story of how two people discovered this orphan block at at flea market, but then actually saw it for what it was and turned it into their own company, really sucked me in.


 To stick my toe in, I purchased the set of paper pieces for just one block. The package was tiny, so I put it in a "safe place" so when I was ready, I could get my hands on it right away.


If you enjoy the game of "I Spy,"  you'll see why a couple of months went by before I got to work!

Nonetheless, the thrill of discovery when I went hunting for a screwdriver was probably as much as Kim and Nisha had when they found the original block.

Then this happened--


The perfect fabric and the perfect pattern came into alignment just like the stars and planets.
This is "Lemonade Stand" by Tilda.

Perfect, huh!
Look at the details!


 I spy two birds...


I spy a bird cage, a chandelier, a unicyle, and Mary Poppins!


I spy a camel, a witch, a piano, a bear, and a bobbin, for scale! 
LOL

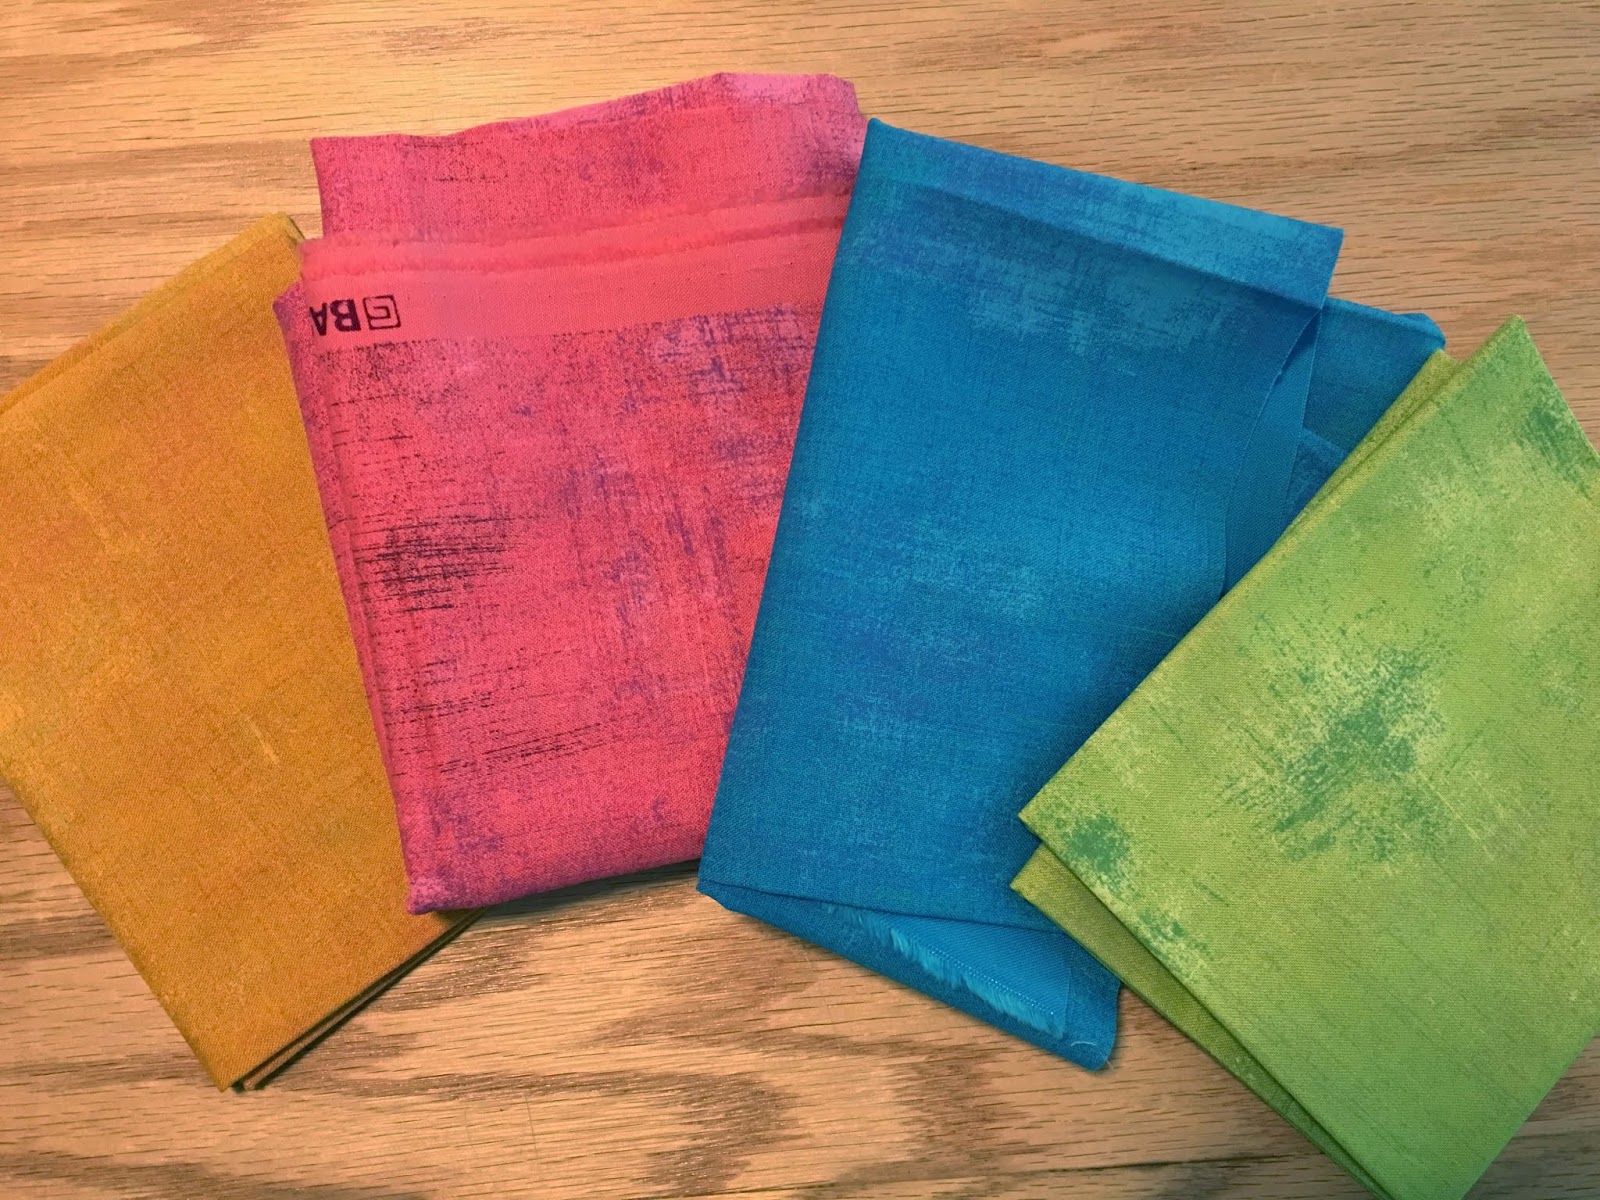
But of course, a little grunge does not hurt anything.


Who isn't a fan of English Paper piecing-- but who has the time for it? I used my cardboard pieces and can of starch to make appliques, and to further speed things up, I am machine stitching these down. So far, it went incredibly fast.


Instead of making every block different, I am going to make them all the same. I have never made a quilt with all of the same blocks-- that will be really out of my box!!

:-)

But can you spy the best part of this block ???


Right in the middle there???


YES! 

It's an opportunity for a gorgeous embroidery design!!
and I already have an idea of what it will be-- 
let's just say, this quilt already has a name: 

"A Few of My Favorite Things."


Happy Fourth!
xox
Carol


Saturday, June 30, 2018

Goodbye, June!

I've been very busy this past month, but it certainly hasn't been blogging!! Sometimes life gets so busy, there's no time to write about it... but we should record these fleeting moments, shouldn't we?

My DD was home for five weeks before heading back to NYC for a summer job. Since her summer was short this year, we decided to take a vacation. A REAL ONE, where you go somewhere!!

Can you tell where we went?


(that's me-- the hippie lookin' one, with three generations of my family)
Yes, we were somewhere with a beach, beautiful teal water, where thunderstorms roll up really quickly in the afternoon. One day, we were even forced to head for the shelter of a local strip mall.


;-)

Some of you will recognize this quilt shop in lovely Sanibel Island. They had a great selection of beach themed fabric, quilt kits designed by local artists, and cross stitch and art supplies. I take my responsibility to support brick 'n mortar retail very seriously, so I did this.  Three kits from Three Sisters. Sandpipers, a pelican and manatees. It's not a UFO if you haven't started it yet.


Then we did the whole Orlando thing... 
we're really not that into Disney...anyone who thinks the Magic Kingdom is the happiest place on earth clearly hasn't visited Keepsake Quilting.


Their hotels are lovely, though, everything is pristine. We stayed at Port Orleans and took this cute little boat over to the Disney Springs shopping area for dinner each night.


It was windy, so this balloon was grounded most of the time, but finally on our last night were able to get a ride. There were little tiny fireworks in the distance at Epcot.


We went to Universal Studios. I LOVED Harry Potter World, even though I have never read a book or seen one movie. I think I may do that this summer now. It was like being on a movie set, and watching grown adults waving wizard wands about was very, very funny.

 Caroline has a lifelong love of penguins, 
so this was a special moment!


I was pretty proud of myself for going on the Transformers ride, but really this type of attraction is more to my liking.


... because that's where I was able to finish this!


So I am back, feeling very rested, and what do you know, the Cloud Club block of the Month was out on time!

And this happened...
Yes, my flower baskets are in one piece! It's amazing how a little time off can change your whole outlook. I feel a wonderful, creative summer coming on and I hope you'll join me!

xox
Carol

Sunday, May 6, 2018

Qwilty Pleasures-- Hand Applique Tips!

My "FOREVER" project is a kit from Keepsake Quilting about 20 years ago-- it was called "Baltimore Out of the Box" by Dinah Jeffries and I'm sure some of you old time quilters will recognize it! I am proud to say, after all this time, I have about nine blocks done.


The ones that are left are the harder ones, or ones I didn't like as much. I just pulled out "Spring Promise" which is at the bottom of the pile because...  it has a butterfly in it.


I don't like butterflies.

They are just too overused and used badly so often... so while I work away at the leaves and flowers, I am thinking of changing it out for a dragonfly, my winged insect of choice. Or, since I always thought I was making this for my beloved son or daughter's wedding, I could leave the space blank for the names of the happy couple. (No, nothing is on the horizon yet, and I'm good with that, because I still need time to finish this!)


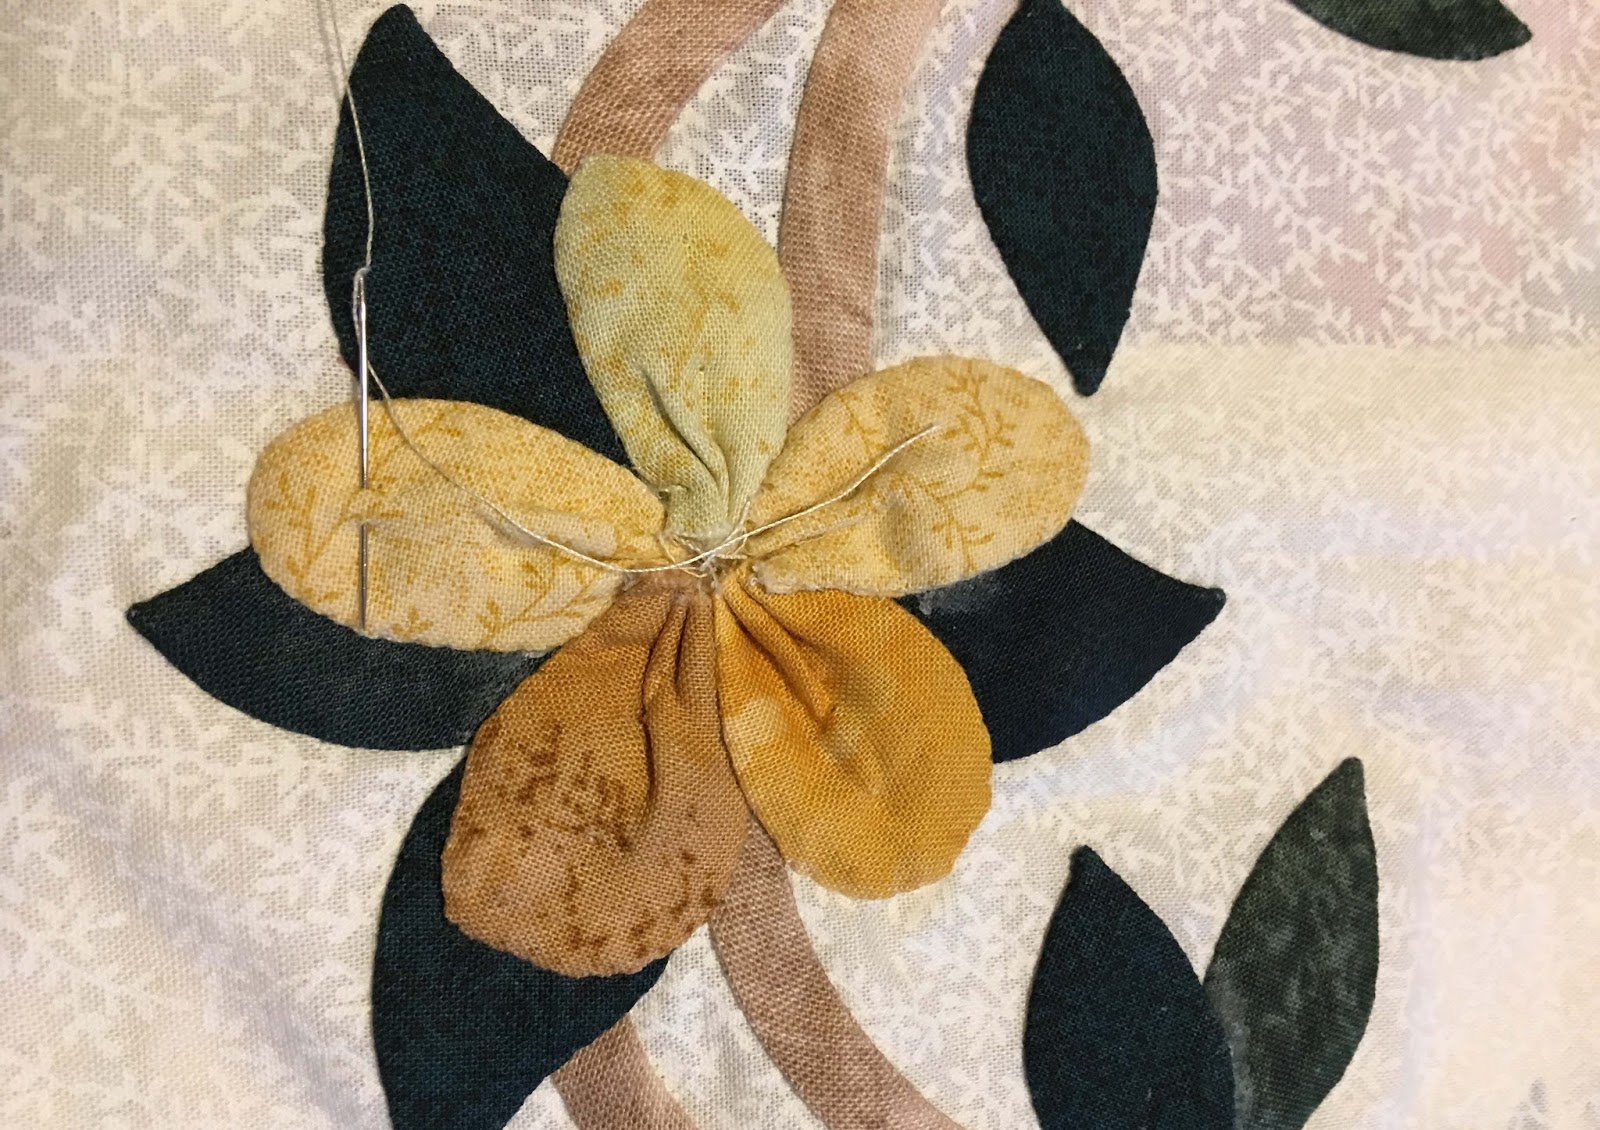
My previous nine blocks are like a short history of applique, as I used the techniques that were popular at the time, over the years. I did the leaves with Rosa Rojas' Appliquick tools-- I like them very much. The petals are supposed to be dimensional though, so I thought the technique where you sew the shape to a backing and then turn it, might work better. So here goes-- I need about 60 petals.


First, I double a scrap of fabric over and using a very tight stitch, made this petal shape. The bottom is left open for turning.


Then, I cut them out, a scant 1/4,"  and clipped the curves. I read that you should not make angled cuts, or you will get angles in your curve when turning; instead make "swooping cuts" and so far I agree, you do end up with a smoother curve. My stitching is tight enough so that I don't think the seam will open up. It occurs to me, as the machine embroidery queen, I could digitize a file to stitch this, and I may end up doing that to speed things up. The curves would be PERFECT!!


Then I turn them right side out-- I love this Clover turning tool. They look like little finger gloves--LOL.


Now I pick five assorted colors to make a flower and gather them all together at the bottom to make a five petaled flower-- see the finished yellow one below.


Let's talk tips. Over twenty years, my handwork has improved, and the switch to the Clover Black Gold Needle is the single biggest reason why. For needle-turned applique, you are supposed to use these honking long needles to help you--never helped me!! This little needle is about an inch long, and the CONTROL you have with it is amazing. It is also extremely sharp, and goes in right where you want it. WARNING: It takes a while to thread it!! heehee. But it gets easier.


Time to sew, and you can see I have ond flower down already. MORE TIPS: use a thread color that exactly matches your applique fabric. Use a THIN thread-- 100 wt. silk is wonderful-- I don't have the budget for an entire set of silk colors, so I have this 40wt set from Superior-- it's fine. Thread Heaven really helps to avoid knotting, and you thread will slip right through the fabric. Take tiny 1/8" stitches-- I had my optometrist make me a special pair of glasses for close sewing-- they are wonderful. Work in daylight, if possible. Stitch a little under the edge-- you'll get a little poof. And pull those stitches tight, but no so tight that your background fabric warps.


So there are a few tips-- of course, practice makes perfect-- doesn't it always? I find a little handwork very enjoyable at times. I love methods where you pre-make the pieces-- you have a nice little take along project. I'm traveling at the end of the month, so I hope to finish this block. After that, there are two left-- plus four borders! So maybe my forever project will end up as a grand-daughter's wedding gift, or maybe a great-grandaughter will unfold it, finished, in all of it's glory, and take it on her honeymoon to Mars. Whoever it is, I hope they feel the love in every stitch.

I am linking up with Kathy's Slow Stitching Sunday that I have always enjoyed reading. Hop on over there next to see what other's are doing!
https://kathysquilts.blogspot.com/

xox
Carol