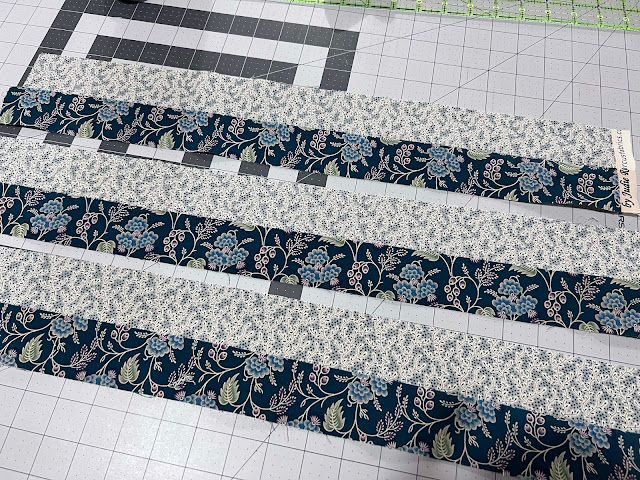
There have been enough sunny and hot days here in Western Maine to convince myself we have really moved to the Deep South... that, and the fact that I have gotten back to a little bit of sewing add up to some high good humor in my studio!
If you've been following my adventures, you know that I signed up for "A Ribbon Runs Through It" BOM through Fat Quarter Shop. I just got mailed my last installment, and though I got sidetracked this year with a move, I've actually finished six months worth, and there are only four to go. (It was a ten month program.) I'd love to just close this out before the end of the year, and I think I see some shortcuts that will help me move this project along.
This picture is taken from the blog of the designer, sewnwildoaks.blogspot.com.
Isn't she a beauty?!
I'm skipping around a bit and decided to work on Month 9, which is sixteen of the same setting triangle block. The pattern is written as though you will make each individually, but I can see some opportunities to strip piece that will make this move along much faster-- I'm hoping I can get all sixteen done in two weeks instead of the allotted month.
What is strip piecing? It's a way of sewing longer strips of fabric together and then sub-cutting them into the width you need, as opposed to cutting and the sewing together individual pieces. If you consider the unit highlighted below, you see that a light blue rectangle has a pink and blue square attached to each end:
If you sewed a "strip" of three pieces together, you could then just cut it into the correct width to get multiples of them in much fewer seams, with less cutting, less aligning, and less pressing of individual pieces.
I have plenty of fabric with my kit. Note that strip piecing does not use extra fabric, but it doesn't save you any, either! My suggestion if you are short on fabric-- cut the strips required for your pattern and then sub-cut only pieces that are individuals first-- then save the rest of your fabric for strip piecing. You can see my pattern has three small pink squares and two large light blue rectangles that cannot be strip pieced to anything else. I cut these individual pieces first.
That included 32 of the large light blue rectangles (that's two pieces each for sixteen blocks) and 48 pink squares (three pieces each for sixteen blocks) before assembling my strips.
I just worked away at all of my marked strip sets for very few minutes each day.
My pattern included a layout sheet for all of the pieces-- this has been a huge help in getting this far. Before I knew it...
Voila!
(I'm probably really dating myself by using that phrase!)
I have sixteen of each strip piece unit stacked, making it sew easy to now just chain piece all of these together. Hoping to crush my sixteen setting triangles shortly and feeling like a BOSS!
Hope this helps you consider ways to streamline your quilting--
Have a great day, all!
xox
Carol


Looks great - you're really making great progress! XOXO
ReplyDeleteHope you can find a place to post this where more quilters (who aren't necessarily also machine embroiderers) will see it! Marianne S
ReplyDeleteThank you so much for posting this! I'm finally on month 3, but I'm going to save this post for when I get to those triangles! I really like how the layout sheet looks with all the parts stacked up so neatly - now I want to get back to my sewing room and finish out month 3 :-)
ReplyDelete